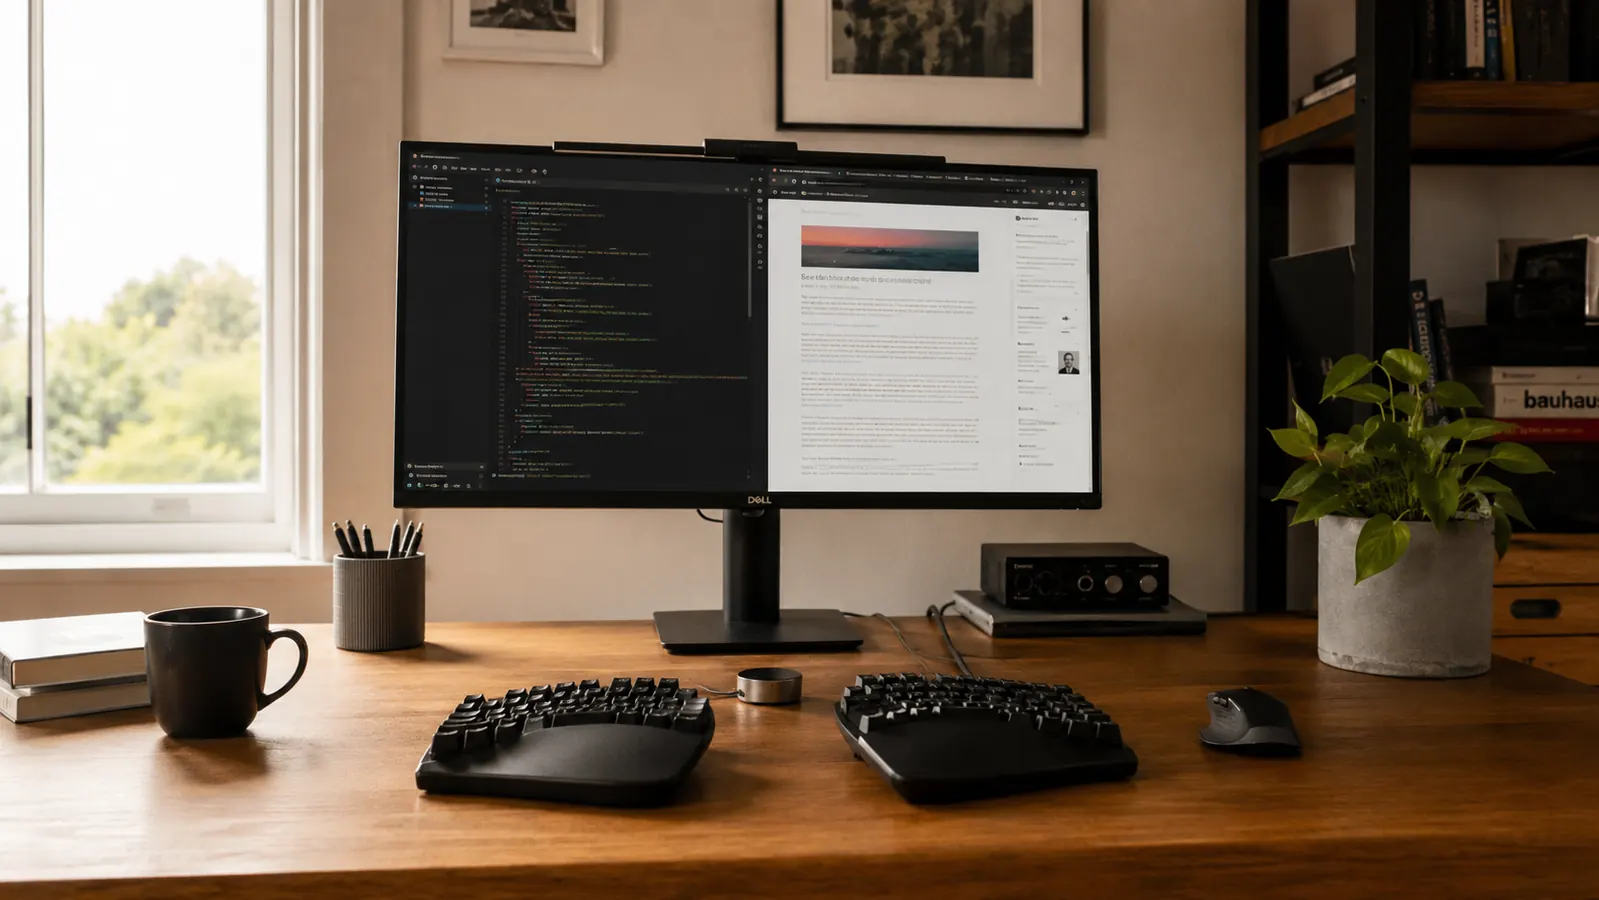
I bought my first split ergonomic keyboard on a Tuesday after my right wrist had been aching for two weeks straight. The keyboard arrived, I plugged it in, slid it in front of my monitor, and typed for eight hours. The ache was still there Wednesday morning. I almost returned it. What I did not know then, and know very well now after three years of writing from home, is that an ergonomic keyboard can only do its job if everything around it is positioned correctly. The keyboard itself is only half the fix. The Logitech Ergo K860 is the keyboard I eventually settled on, and once I sorted out the setup, it genuinely changed how my wrists felt by end of day.
This guide is the setup walkthrough I wish I had when I unboxed mine. If you already own an ergonomic keyboard or are about to buy one, run through these five steps before you spend another week wondering why it is not helping.
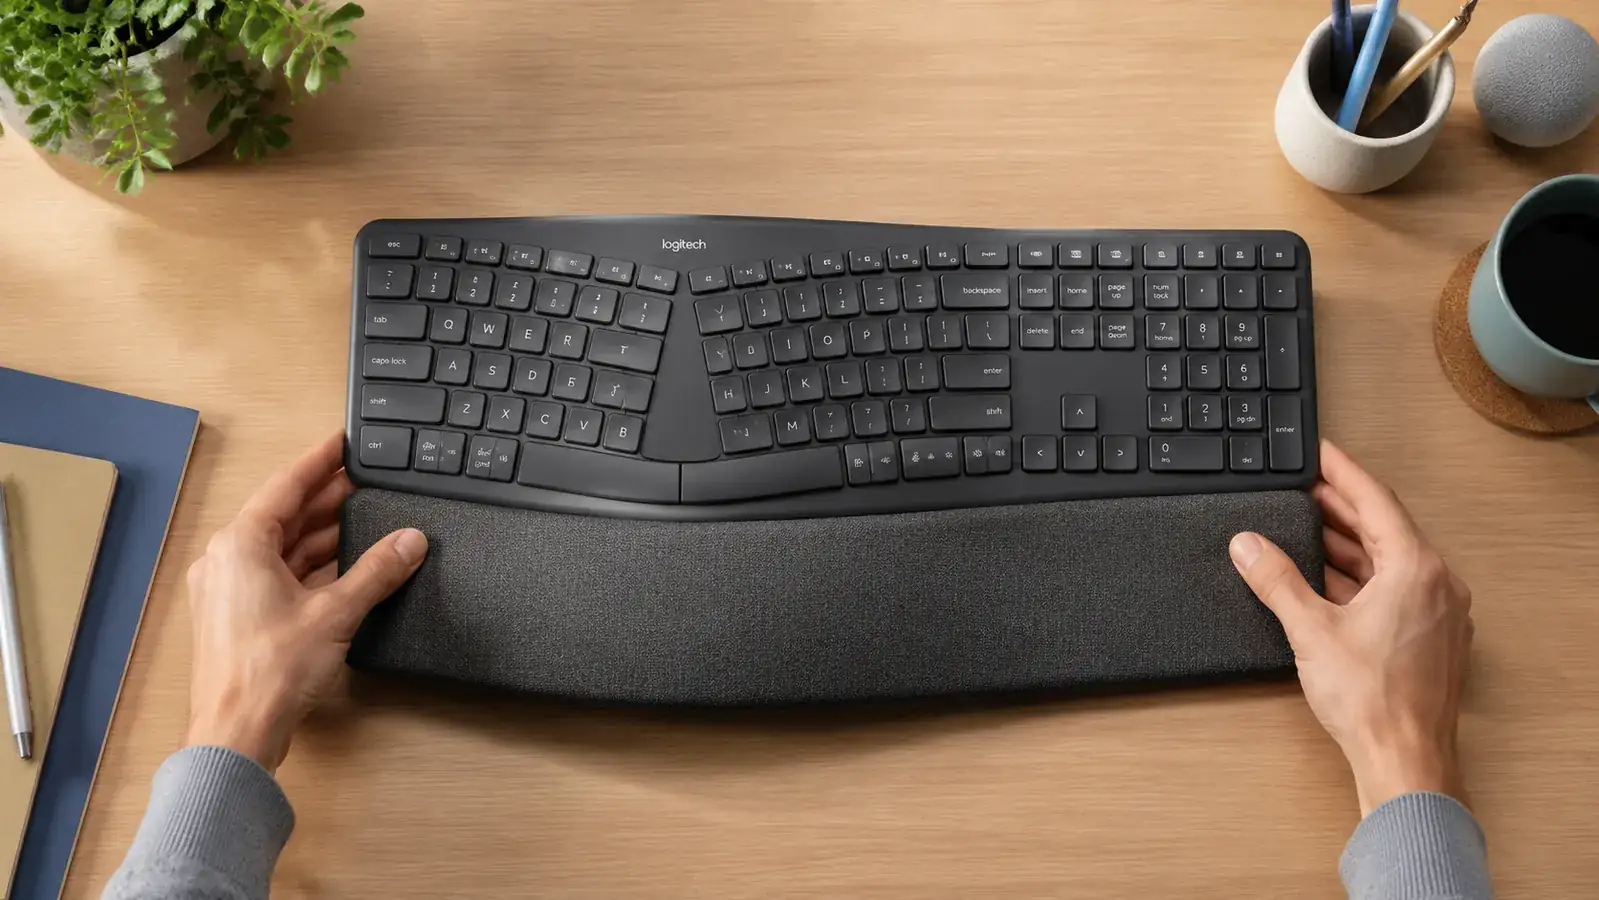
Still shopping? The K860 is the split keyboard worth setting up correctly.
The Logitech Ergo K860 has a built-in curved wrist rest, a wireless Unifying receiver, and Bluetooth for up to three devices. It is the split keyboard that rewards a proper setup with genuine all-day wrist comfort. Rated 4.5 stars from nearly 8,000 remote workers.
Amazon Check Today's Price on Amazon →Step 1: Get Your Desk Height Right Before Touching the Keyboard
This is the step nobody wants to hear because it has nothing to do with the keyboard itself, but it is the most important one. If your desk is too high or too low, no keyboard design in the world will save your wrists. Sit in your chair the way you normally sit during a workday, not perched correctly for a photo, but actually how you sit after hour three. Your elbows should be at roughly 90 degrees with your forearms parallel to the floor. Your desk surface should meet your forearms at or just slightly below that elbow height.
If your desk is fixed and it is too high, your chair needs to go up. If your chair goes up and your feet leave the floor, add a footrest. If your desk is too low, you can add a desk riser or switch to a standing desk converter. I know that sounds like a rabbit hole, but getting desk height correct before worrying about keyboard angle eliminates about 60 percent of wrist complaints before you ever open the keyboard box.
A quick rule of thumb: with your arms hanging relaxed at your sides, your desk surface should be about at wrist height. When you bend your elbows to type, your forearms should float up to desk level naturally without raising your shoulders at all. Raised shoulders mean your desk is too high. Elbows below desk level mean it is too low.
Step 2: Position the Keyboard at the Correct Distance from Your Body
Once desk height is sorted, keyboard distance matters more than most people realize. The standard mistake is pushing the keyboard to the back of the desk to make room for papers or a mouse pad. This forces your arms to reach forward, which extends your wrists and loads the tendons over the course of a day. The keyboard should be close enough that your elbows stay near your body. When your hands are on the home row, your upper arms should hang almost vertically, not angled forward.
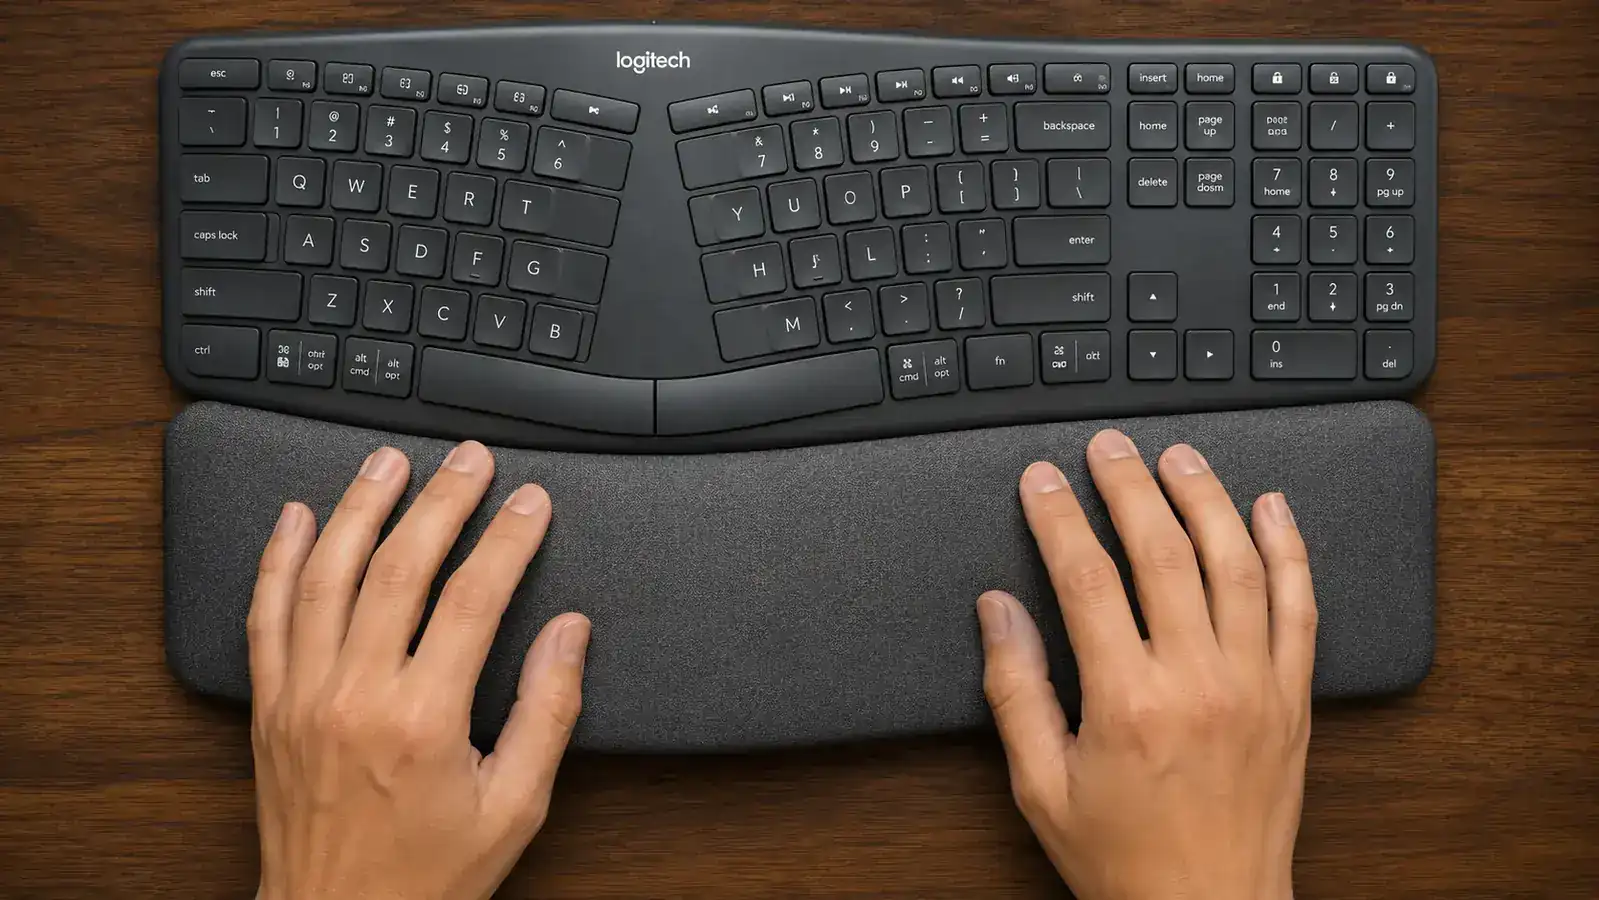
For the Logitech K860 specifically, the built-in palm rest takes up additional depth compared to a standard keyboard. Account for that when you position it. The front edge of the palm rest should sit near the edge of your desk, not pushed back. This lets your wrists rest on the palm cushion in a neutral position rather than floating in the air or bending upward to reach keys.
The keyboard should be close enough that your elbows stay near your body. When your hands are on the home row, your upper arms should hang almost vertically, not angled forward.
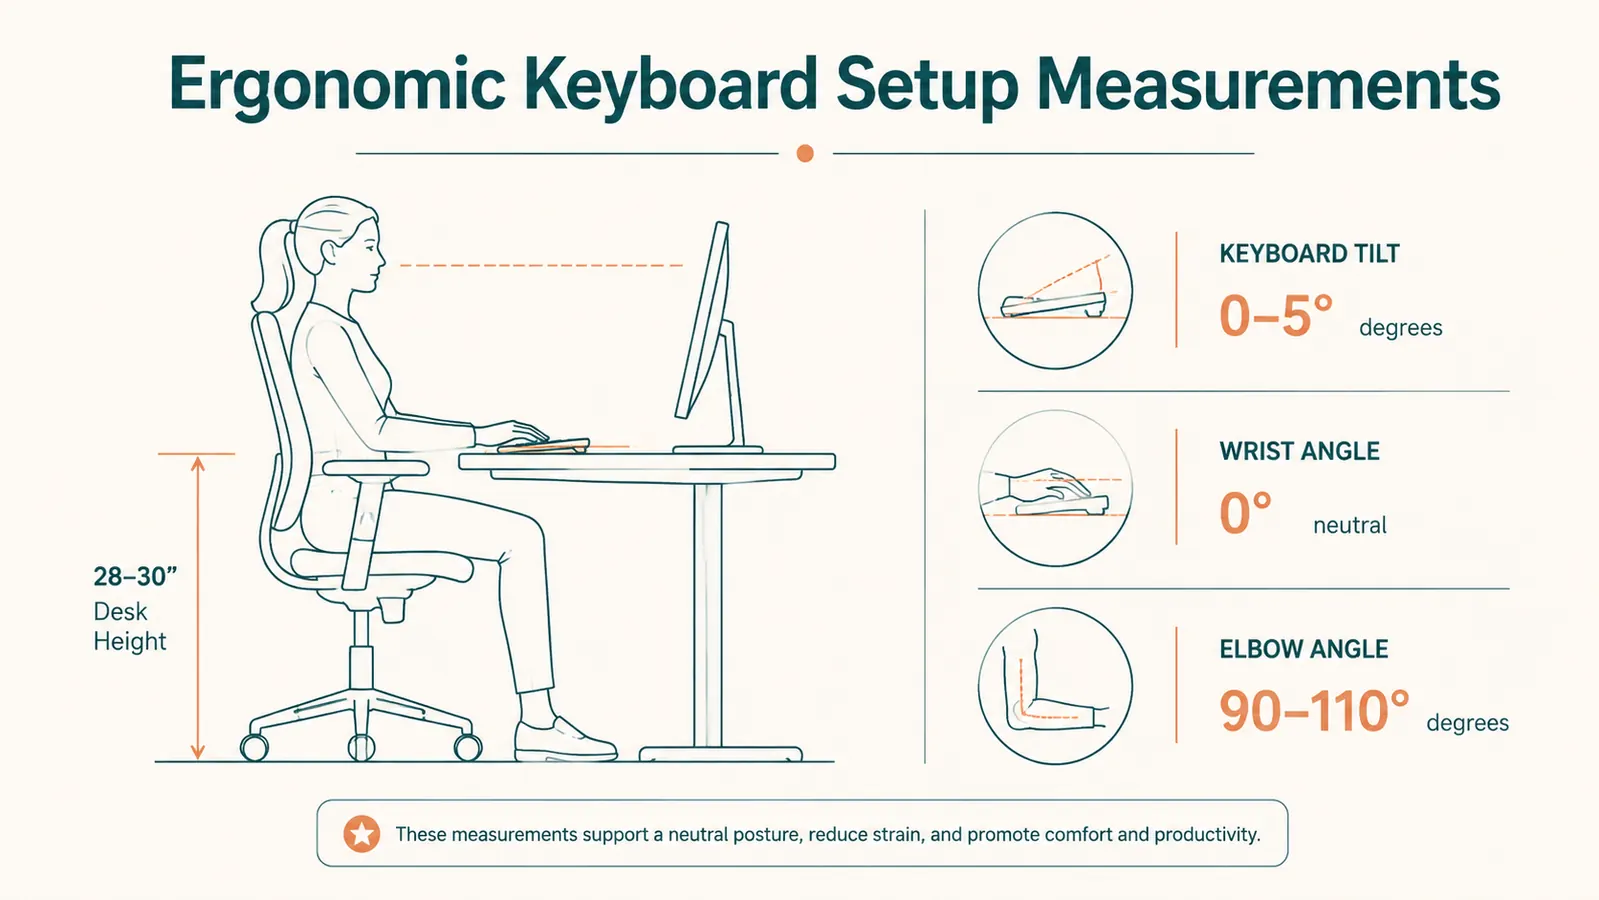
Step 3: Set the Tilt Angle Correctly (This Is Where Most People Go Wrong)
Most keyboards come with fold-up legs on the back that tilt the keyboard away from you at an angle. That design made sense for flat keyboards because it angled the keys upward for visibility, but for ergonomic wrists it is the wrong direction. Tilting a keyboard up means your wrists have to bend upward to reach the keys, which is called wrist extension, and it is one of the primary causes of repetitive strain over time.
The Logitech K860 handles this differently and correctly. It has a curved, sculpted body that lifts in the middle rather than at the back, and the legs fold down to create a slight negative tilt, meaning the back of the keyboard is lower than the front. This puts your wrists in a more neutral, slightly downward angle as you type. When you set it up, use the fold-down legs to create that gentle negative tilt. You should not feel your wrists bending upward at all. If they are, fold the legs back in and work flat before trying negative tilt. Flat is always better than positive tilt.
One thing I got wrong for the first two weeks: I folded the legs up by habit from years of using standard keyboards. My wrists were tilted up the whole time and I kept wondering why the split design was not helping. The moment I switched to the negative tilt position, the difference was immediate and obvious.
Step 4: Place Your Mouse at the Same Level as the Keyboard
An ergonomic keyboard setup is undermined almost immediately if your mouse is not at the same height and positioned close to the keyboard edge. Reaching across or down to a mouse planted somewhere on the other side of a wrist rest strains your shoulder and rotates your wrist. The mouse should sit right at the side of the keyboard at the same surface level, close enough that you barely have to shift your elbow to reach it.
If you are using a standard horizontal mouse, consider pairing the K860 with a vertical mouse. I made this switch about six months after setting up my keyboard correctly, and the combination of a split keyboard and a vertical mouse eliminated essentially all of the forearm fatigue I had been chalking up to long writing days. The Logitech MX Vertical is the one I use and have written about in detail if you want the full breakdown on that side of the equation.
For the surface itself, a thin, firm mouse pad is better than a thick cushioned one. Cushioned surfaces cause your wrist to sink and create an upward angle as you move the mouse. A firm, flat pad keeps your wrist in a neutral position throughout the movement.

Step 5: Adjust Your Monitor Height to Match the New Keyboard Position
When you move a keyboard closer to your body and lower the tilt, your posture shifts slightly. Most people sit a little more upright and pull their shoulders back naturally, which is exactly the point. But this also changes where your eyes want to land on the screen. If your monitor has not moved, you may find yourself either craning your neck upward or looking down too sharply. Both positions create neck tension that eventually feeds back into shoulder and wrist strain.
After you have the keyboard dialed in, sit in your normal working posture, close your eyes, and then open them without moving your head. Where do your eyes naturally land on the screen? That should be roughly the top third of your monitor. If you are looking at the bottom half of the screen with eyes open and head neutral, raise your monitor. If you are looking above the screen, lower it. A laptop stand or monitor arm gives you the fine-grained adjustment you need. I spent months with my laptop flat on the desk before understanding that nearly every neck ache I had was directly caused by looking down all day, not by anything wrong with my chair.
External keyboards like the K860 are also the reason you need a separate keyboard when using a laptop stand. When you raise your laptop screen to eye level, the built-in keyboard goes up with it, which puts your wrists in the wrong position. The K860's wireless design solves this completely: keep the keyboard close at desk level, raise the laptop screen to eye height on a riser, and connect the two via Bluetooth. That combination costs less than a visit to a physiotherapist and it actually fixes the problem.
What Else Helps Once the Setup Is Right
A good ergonomic setup buys you a longer pain-free window, but it does not buy you infinite typing without breaks. The research on repetitive strain consistently shows that brief micro-breaks every 30 to 45 minutes do more for wrist health than any single piece of hardware. I use a simple kitchen timer or a browser extension that flashes a reminder. When the timer goes off, I stop typing, shake out my hands, rotate my wrists slowly five times in each direction, and take 60 seconds away from the keyboard. That sounds minimal because it is minimal, but it compounds. Over a full workday it adds up to meaningful recovery time for the tendons that handle typing load.
Wrist strength exercises also help, especially for writers who are at a keyboard six or more hours a day. Wrist curls with a very light weight, doorframe stretches for the forearm flexors, and prayer-position stretches before you start typing each morning all reduce the baseline tension that makes strain more likely later in the day. None of this replaces a correct keyboard setup, but the setup and the movement habits work together. One without the other gives you half the benefit.
Finally, give yourself a real adjustment period when switching to a split keyboard. The Logitech K860's split layout changes where your hands naturally want to go, and your typing speed will drop for the first week or two. That is normal. My typing speed was noticeably slower for about ten days after I switched, and I almost gave up twice. By week three I was back to my normal pace. By week six, typing on a straight keyboard felt cramped by comparison. Stick with it.
The K860 rewards every one of these steps with genuine all-day comfort.
If you are going to put the work into a proper ergonomic setup, use a keyboard that is built to match it. The Logitech Ergo K860 pairs a curved split layout with a built-in palm rest, negative tilt support, and wireless connectivity across three devices. Nearly 8,000 remote workers rated it 4.5 stars. Check the current price and availability below.
Amazon Check Today's Price on Amazon →